News
CNC Wood Lathe Tutorials: How to Make A Design for Broaching
If you are looking for a machine, please check out here: cnc wood lathe machine
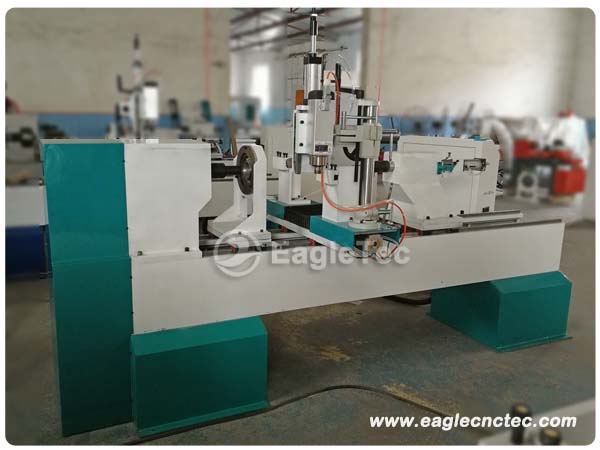
As we know, broaching is the next step of wood turning in machining procedure. And the broaching area is only part of turning area. For this point, please refer to the picture below.
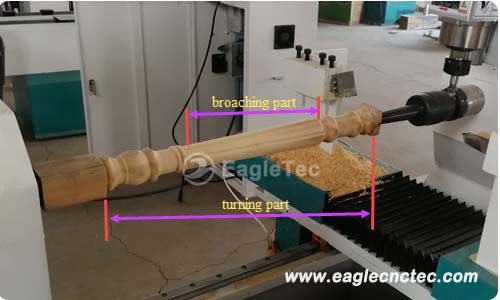
To make the design for broaching, we only need to modify the wood turning design slightly. Of course, the premise is that the turning file is well saved in your PC first. Let’s take a look at how to do this step by step.
Step 1. Please open the wood turning design in AutoCAD software.
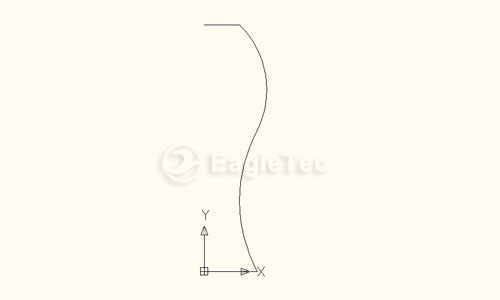
Step 2. In the drawing, the part that needs to be grooved is retained, and the rest is deleted.
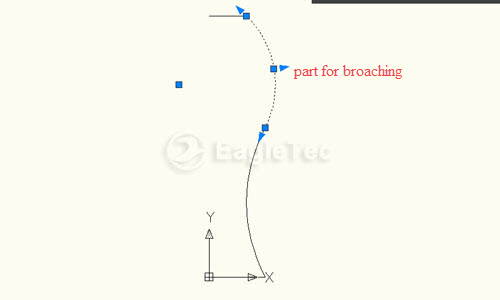
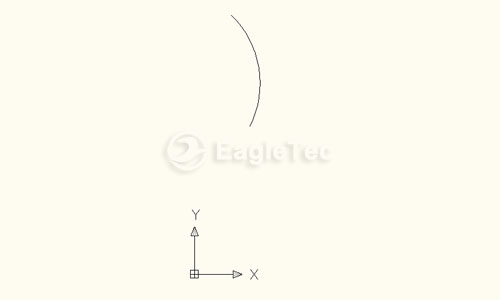
Step 3. The broaching depth is defined by making two line segments at the top and bottom of the broaching line.
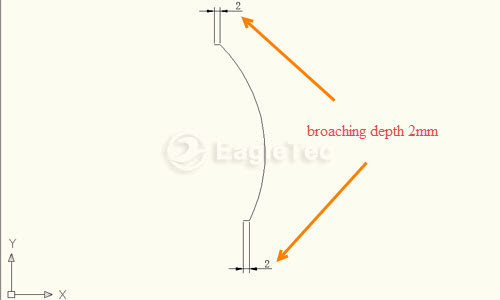
Step 4. Set the coordinate origin to the lower left corner of the drawing content.
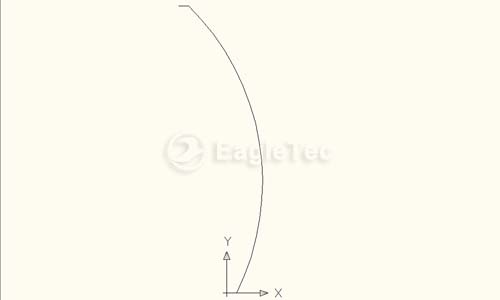
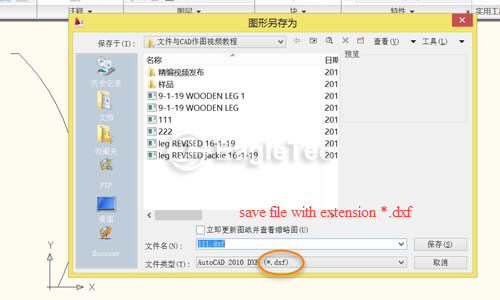
Step 5. Save it with file extension *.dxf
All the job is done until now.
For a better understanding, please watch the video guide below.
If any questions, please feel free to contact us.
Copyright:
Original works, for permission to reproduce, reprint , please be sure to indicate the form of hyperlinks to the original source of the article , author information and this statement.
Related Products:
EagleTec Wood Turning Lathe Machine
Related Tutorials & Course:
How to make a wood turning design step by step
What you should know on wood turning design pattern programming
Jinan EagleTec Machinery Co.,Ltd.
【 Go Back 】 | 【 Print 】 | 【 Close this window 】


